How to Build and Maintain a Good Wood Fire for Pottery Kilns
1. Choosing the Right Wood
-
Well-seasoned, dry wood (moisture content below 15%) burns hotter and produces less smoke.
-
Hardwoods (acacia, eucalyptus, cashew, teak) burn longer and produce steady heat with minimal ash.
-
Softwoods (pine, poplar) ignite quickly with strong flames but lose heat faster.
-
Avoid rotten or damp wood with bark intact — it creates excessive smoke and can stain pottery.
2. Preparing the Kiln and Kindling
-
Clean out old ash from the firebox before firing.
-
Kindling: use dry paper or small wood sticks arranged in a teepee or log cabin style for good airflow.
-
Leave space for air to enter from below — oxygen is essential for a strong burn.
3. Firing Stages
Stage 1 – Gradual Heat-Up
-
Light a gentle fire for the first 2–4 hours to remove moisture from clay and glaze (rapid heating can cause cracks).
-
Use small wood pieces, add fuel steadily, keep temperature around 200–400°C.
Stage 2 – Strong Heat Rise
-
Once moisture is gone, increase wood size and feed every 2–5 minutes.
-
Aim to reach 900–1000°C before entering the soak stage.
Stage 3 – Soaking & Flame Control
-
Maintain 1200–1300°C (depending on clay and glaze type).
-
Adjust air intake: open fully for bright flames, close partially to encourage ash build-up.
-
Switch to ash-rich wood for natural ash glaze effects.
4. Signs of a “Good Fire”
-
Bright orange-gold flames with minimal black smoke.
-
Stable temperature without major fluctuations.
-
Even ash distribution, no heavy clumping in one area.
-
Consistent “hissing” or “roaring” burn sound without sputtering.
Related posts
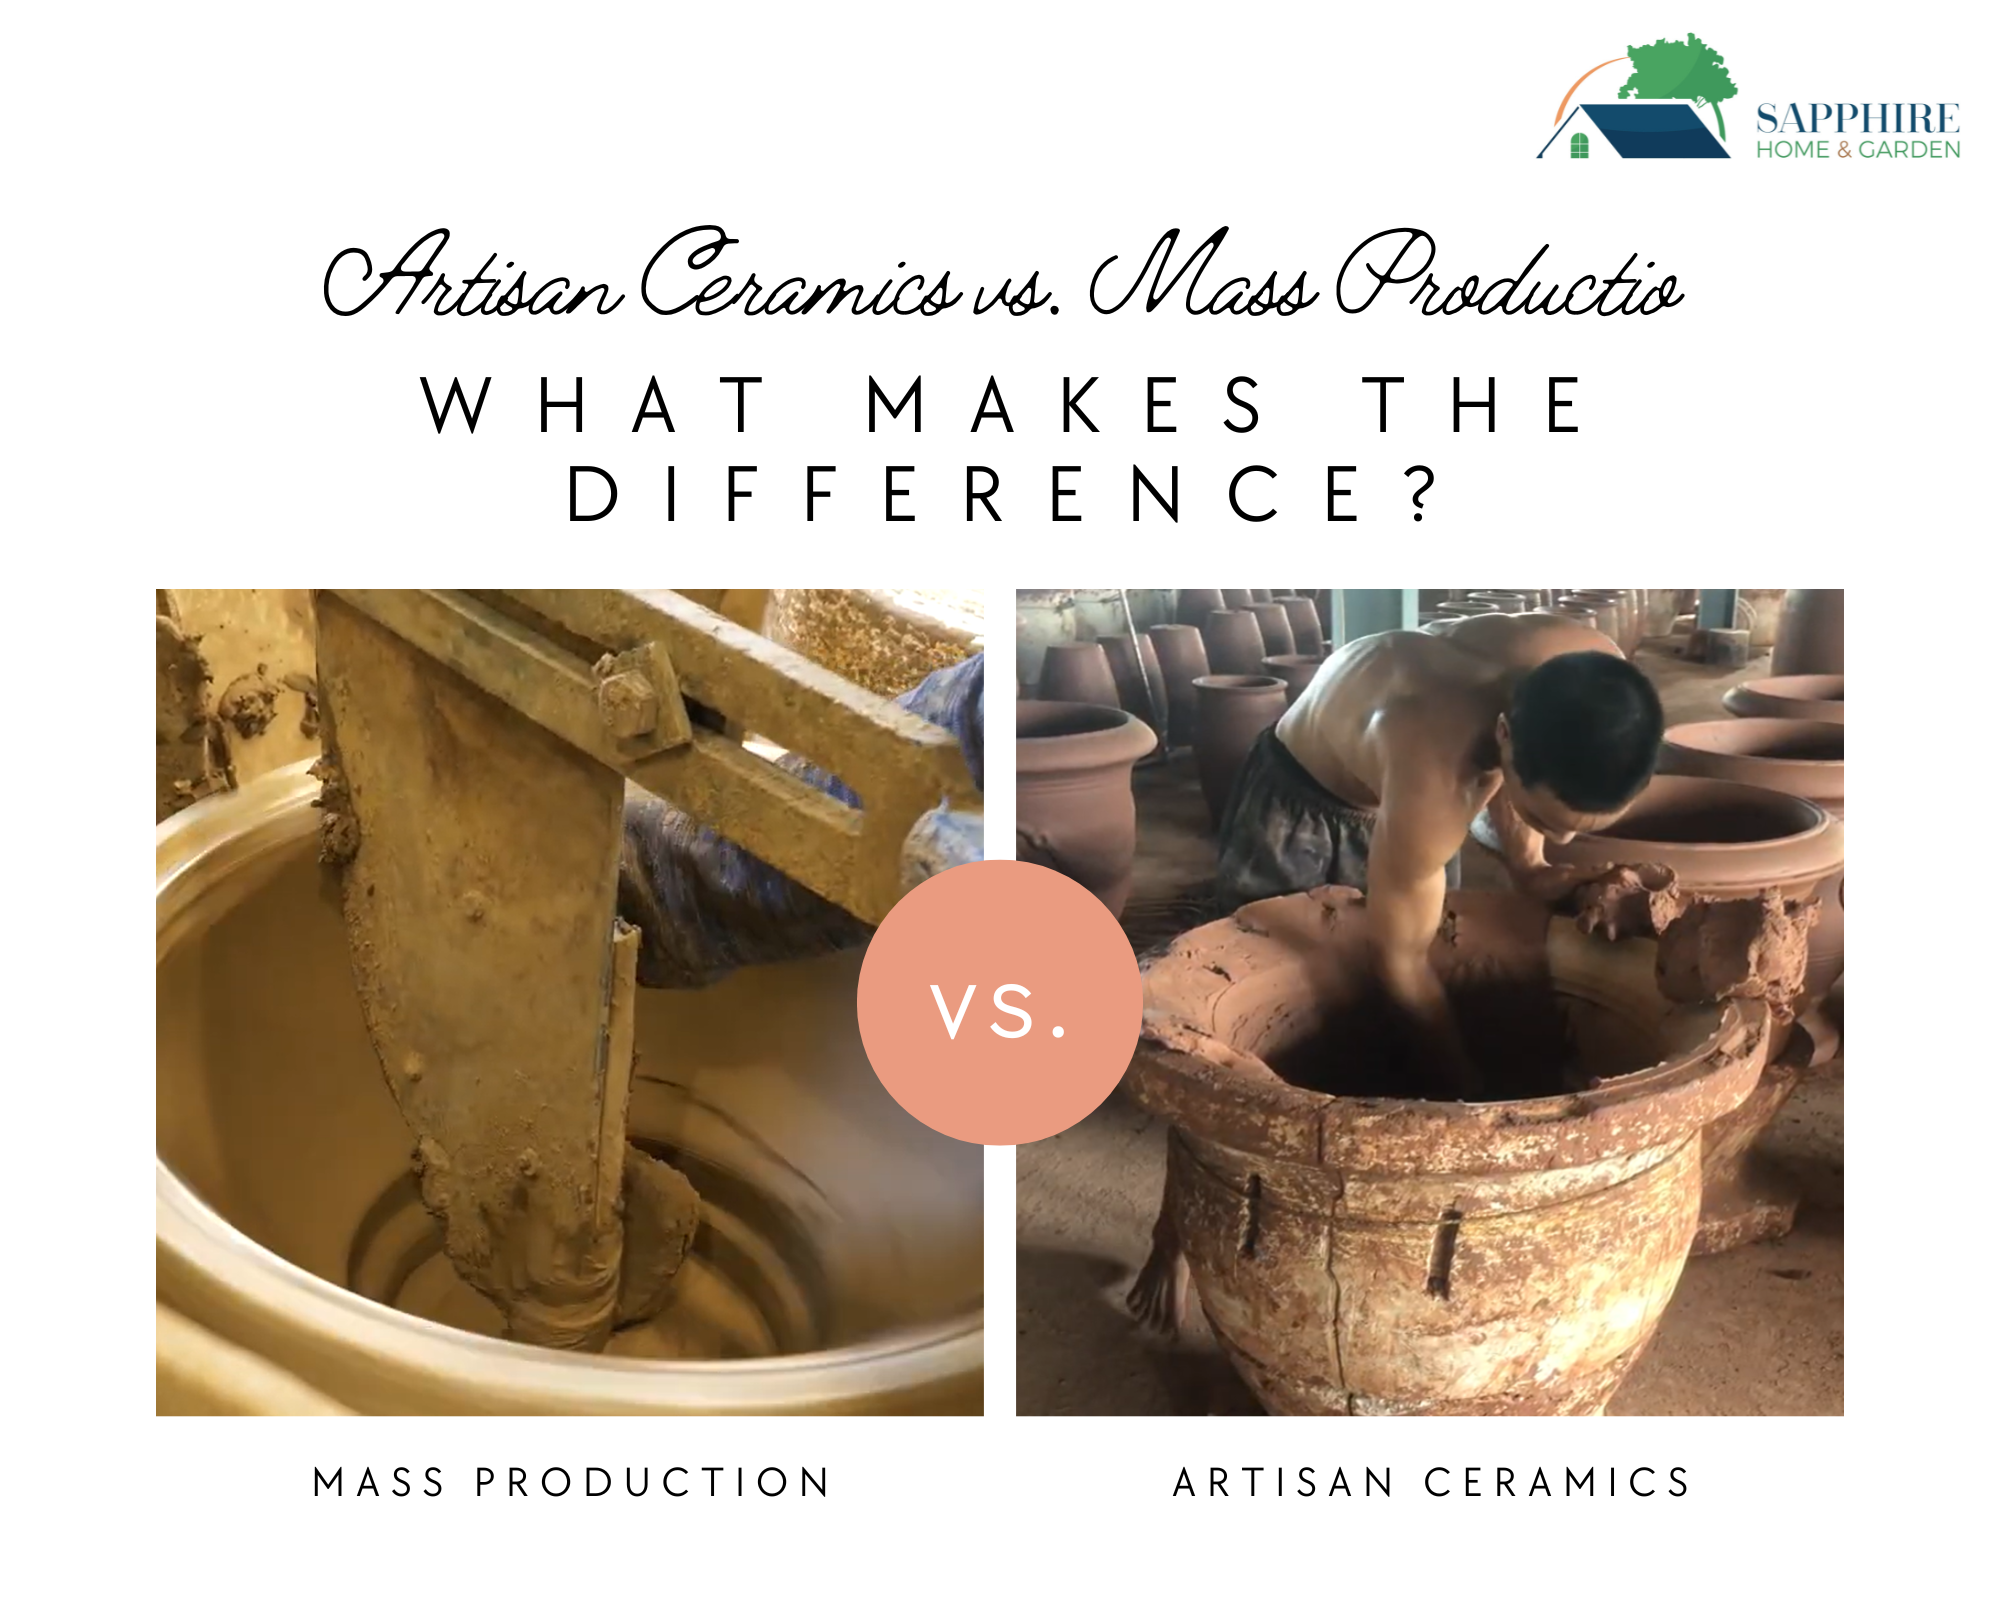
Artisan Ceramics vs. Mass Production: What Makes the Difference?
In today’s global market, ceramic products are available in a wide range of styles, prices, and production methods. Two common categories stand out: artisan ceramics and mass-produced ceramics. While both serve functional purposes, the difference lies in quality, character, and long-term value. Understanding these differences helps customers make informed decisions – especially when choosing ceramic…
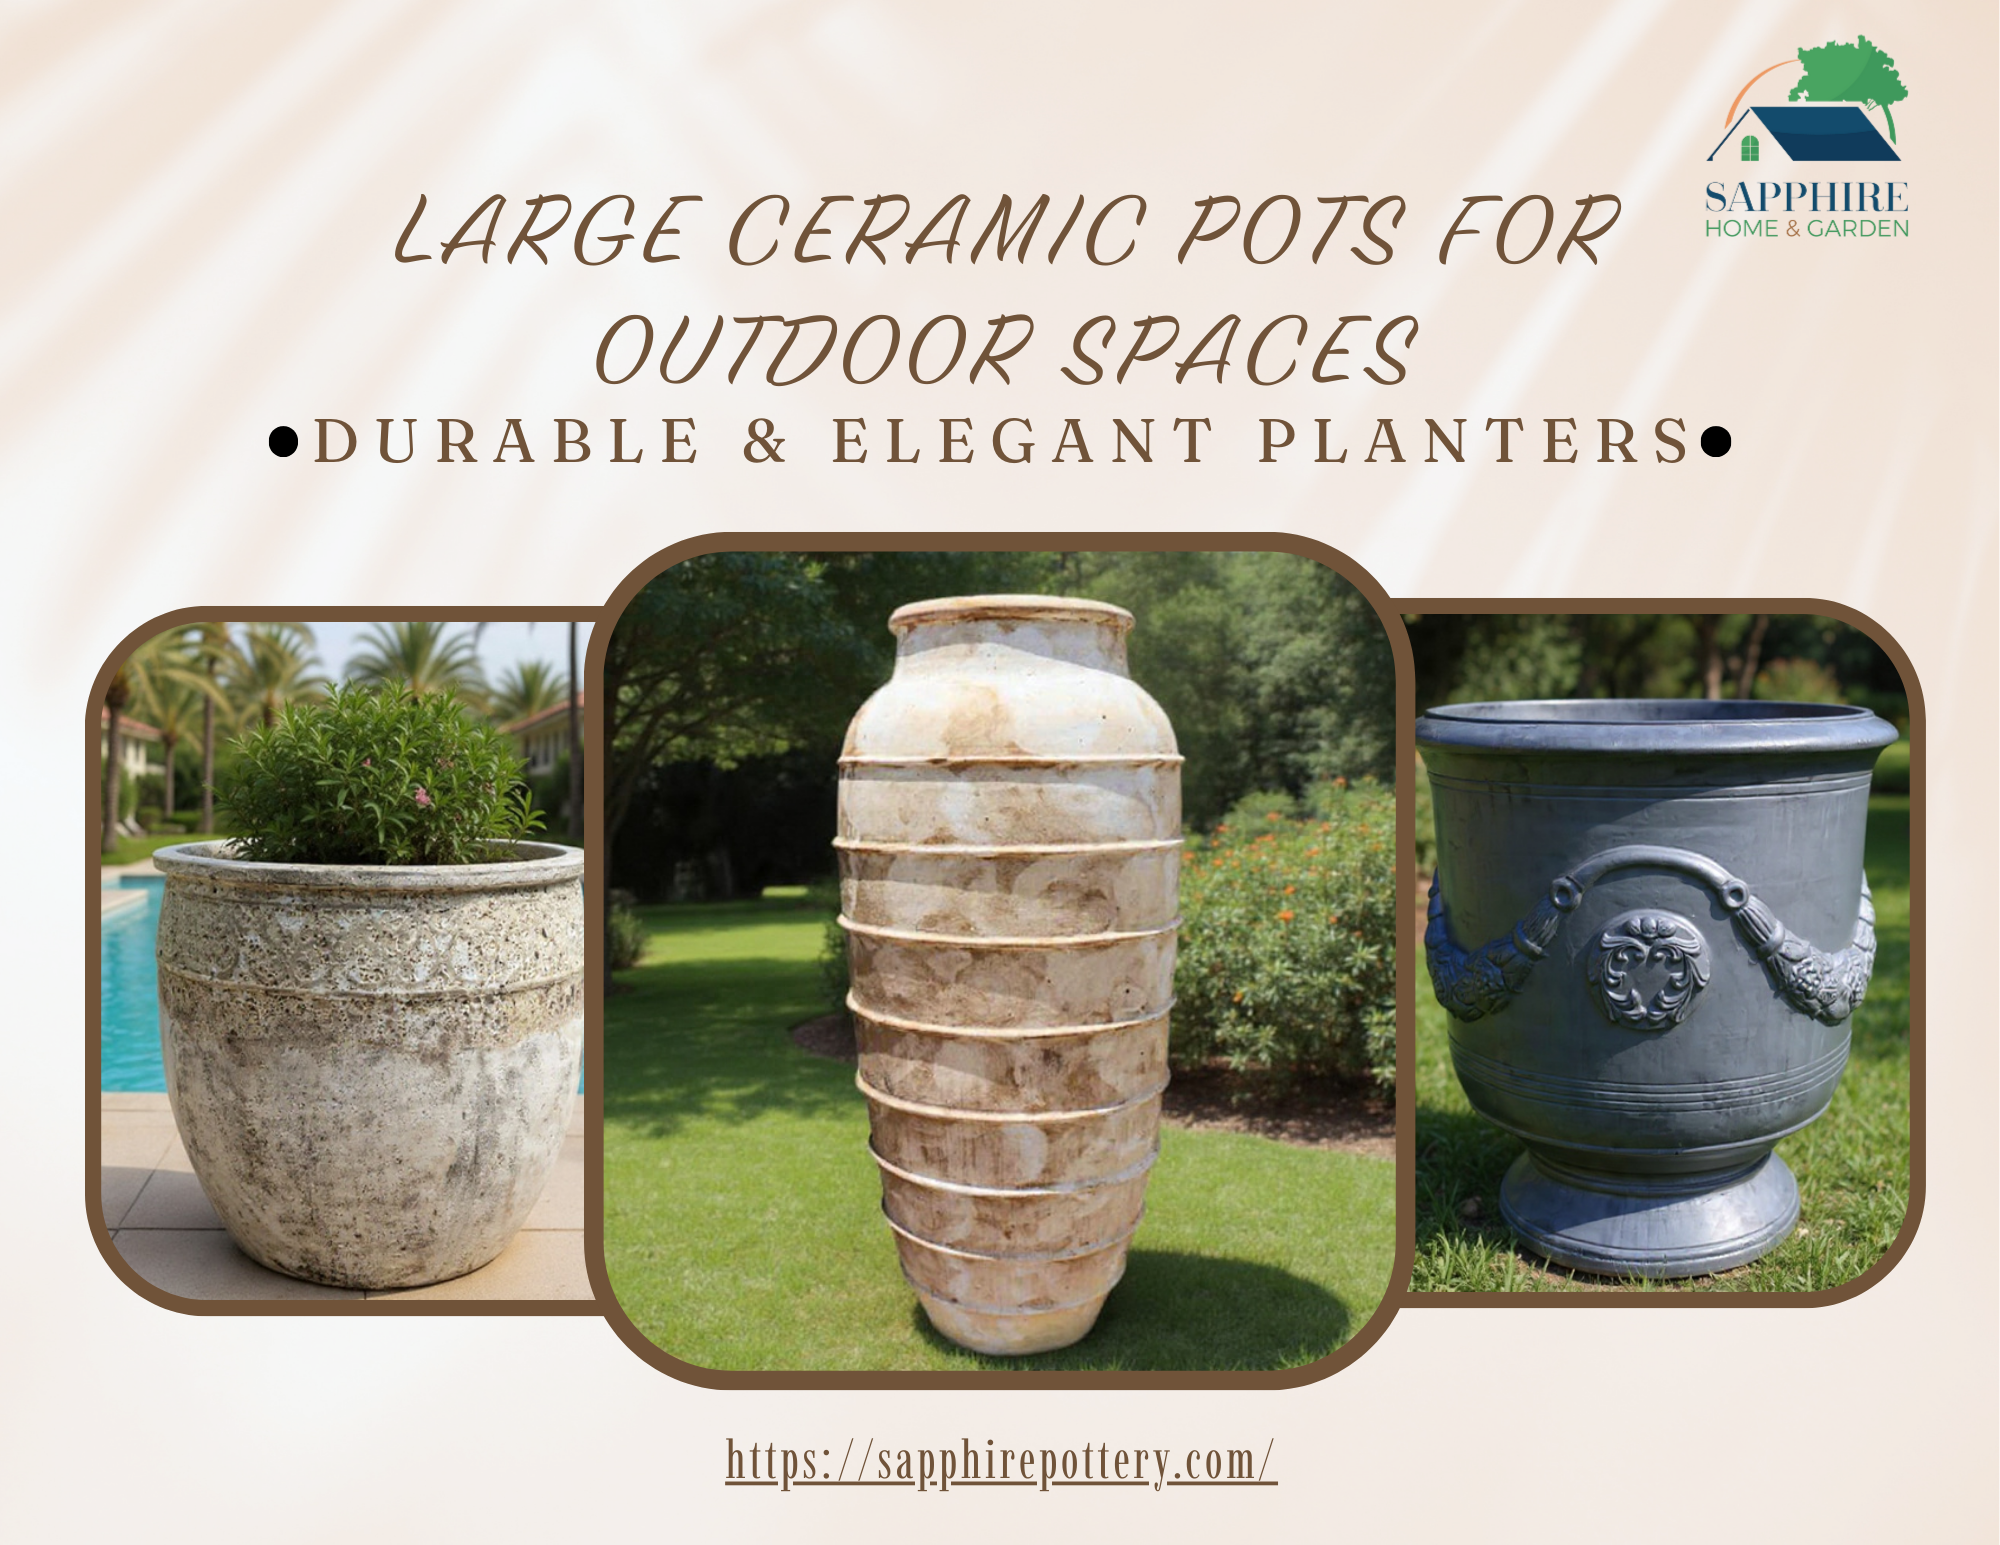
Large Ceramic Pots for Outdoor Spaces | Durable & Elegant Planters
Why Large Ceramic Pots Are Ideal for Outdoor Spaces Outdoor spaces deserve planters that are not only functional but also visually impactful. Large ceramic pots have become a preferred choice for gardens, patios, resorts, hotels, and landscape projects thanks to their durability, plant-friendly properties, and timeless design. Whether for residential use or commercial outdoor projects,…
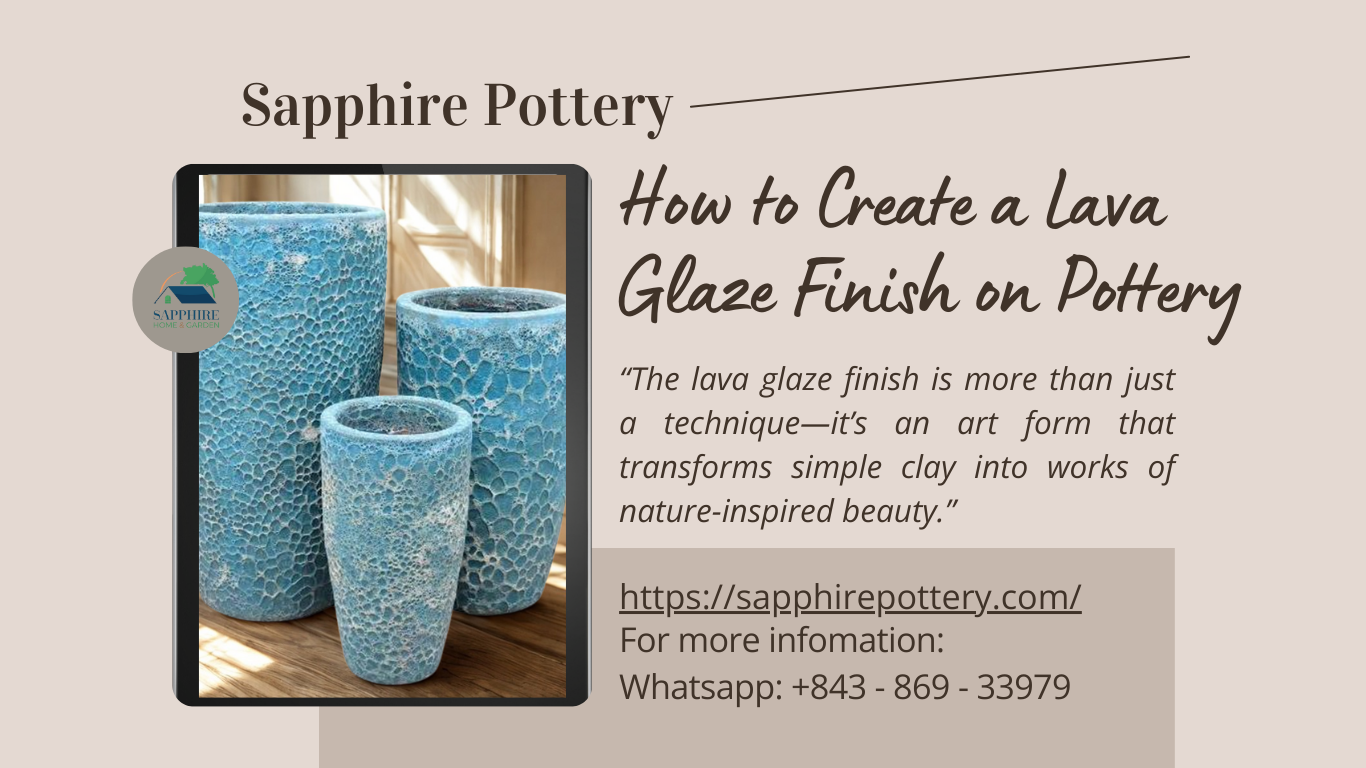
How to Create a Lava Glaze Finish on Pottery
The lava glaze finish has become one of the most striking and popular surface effects in modern ceramics. With its unique texture that resembles molten rock and volcanic stone, lava glaze not only enhances the beauty of pottery but also adds a dramatic, natural charm that captivates collectors, designers, and garden enthusiasts alike. In this…

Partnership Opportunity – Distributing SAPPHIRE Pots
We are SAPPHIRE HOME & GARDEN VIETNAM, a leading manufacturer and exporter of high-quality ceramic pots.We are looking for strong and reliable partners to distribute our products in your market. With our wide range of designs, competitive pricing, and proven export experience, we believe our products will add value to your portfolio and meet the…
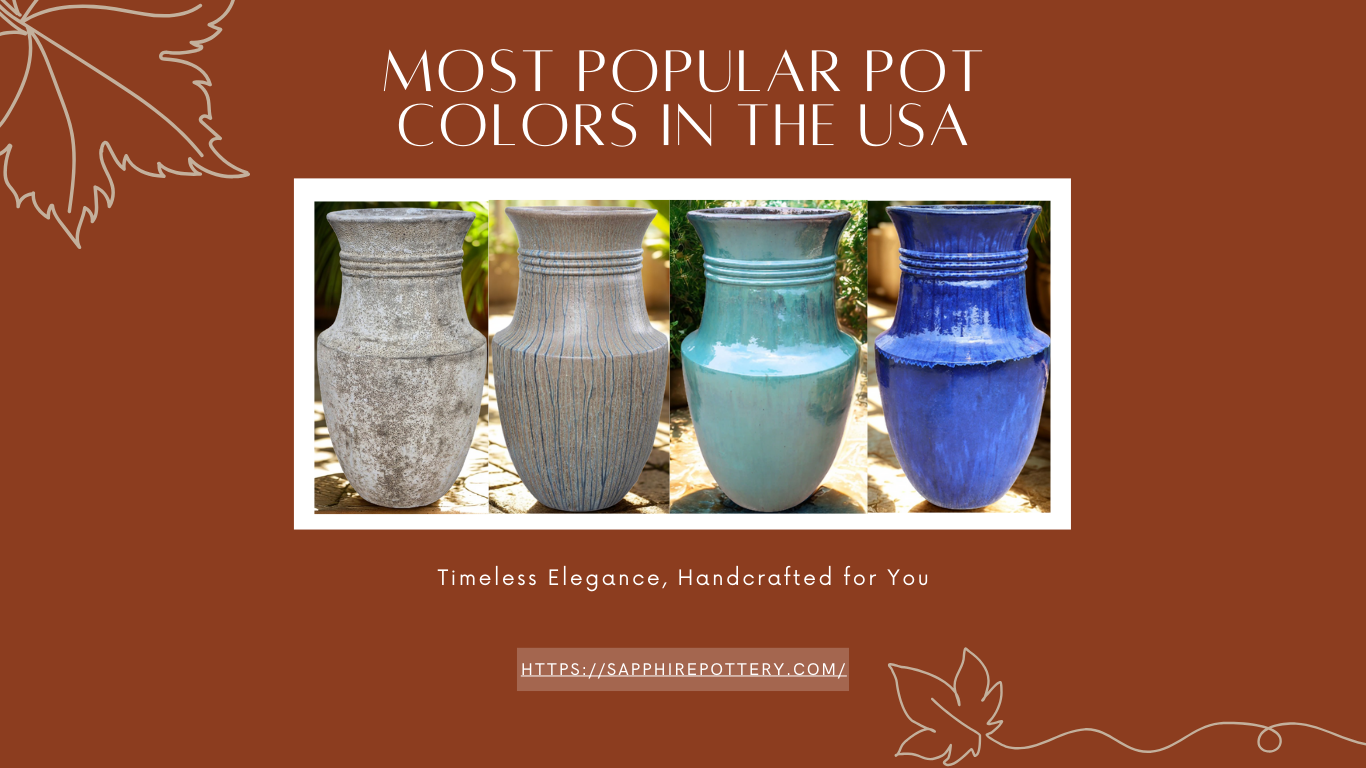
Most Popular Pot Colors in the USA
1. Timeless Neutrals (Best-Selling All Year) White / Off-White – clean, modern, fits any décor style. Gray / Charcoal – sleek, contemporary, popular for minimalism. Beige / Sand – warm and natural, blends with outdoor landscapes. Black / Matte Black – bold yet versatile, works well indoors and outdoors. 2. Earthy & Natural Tones (Loved…
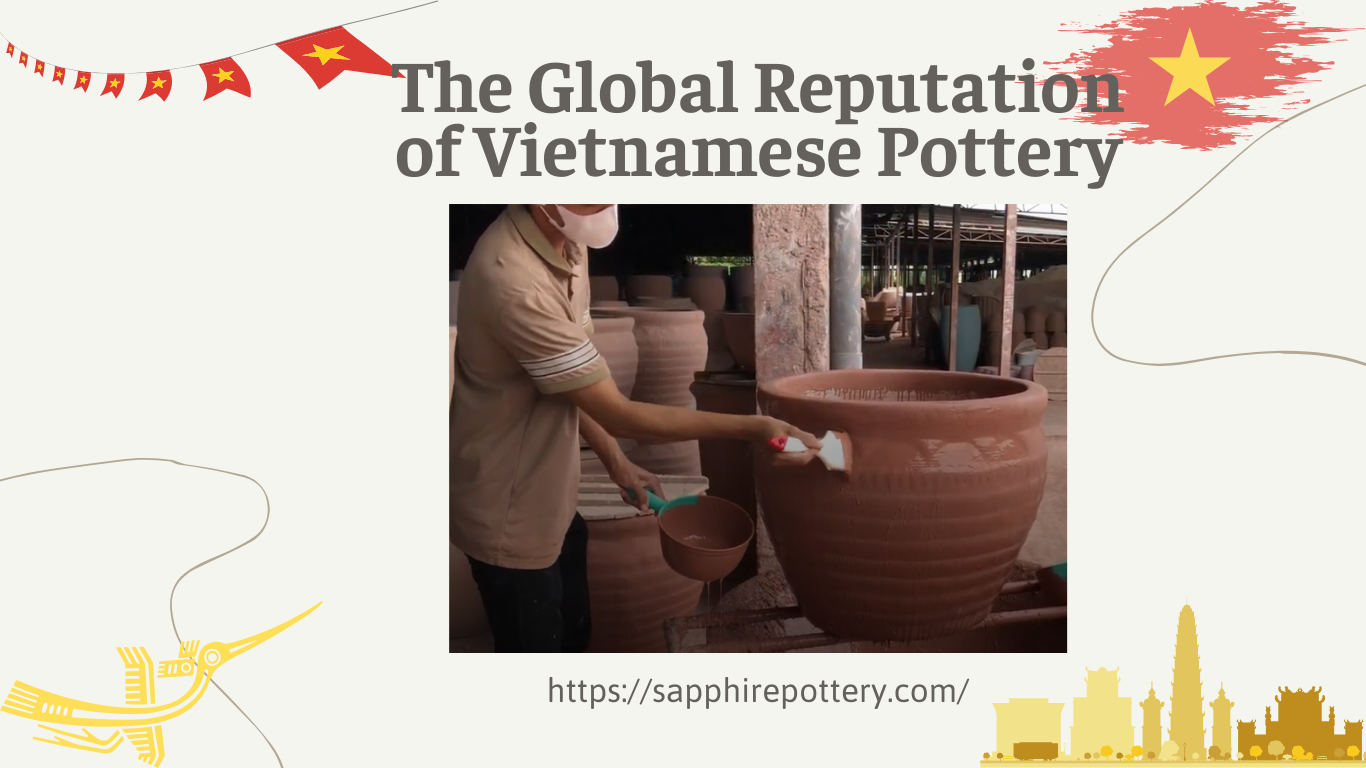
The Global Reputation of Vietnamese Pottery
Vietnamese pottery has earned a strong reputation in the international market thanks to its unique blend of traditional craftsmanship and modern creativity. Centuries-Old Heritage With a history dating back over 1,000 years, Vietnamese pottery is rooted in rich cultural traditions, passed down through generations of skilled artisans. Famous pottery villages such as Bát Tràng, Phù…